How do I manage my email delegates?
To set up delegate access:
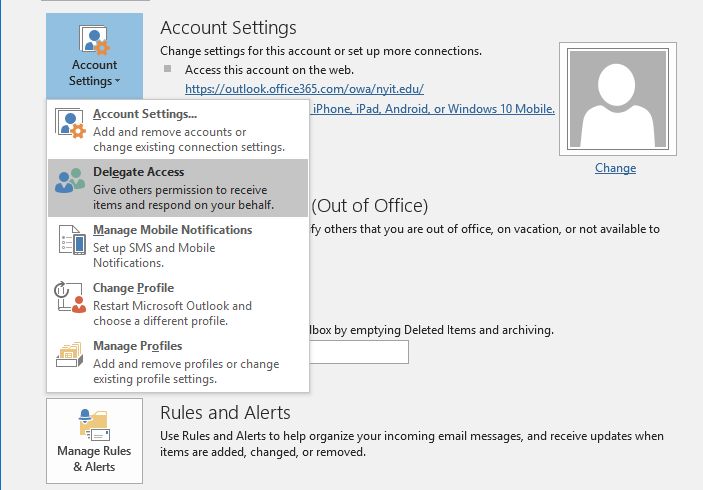
- Choose the File tab.
- Select Account Settings > Delegate Access;
- Click Add
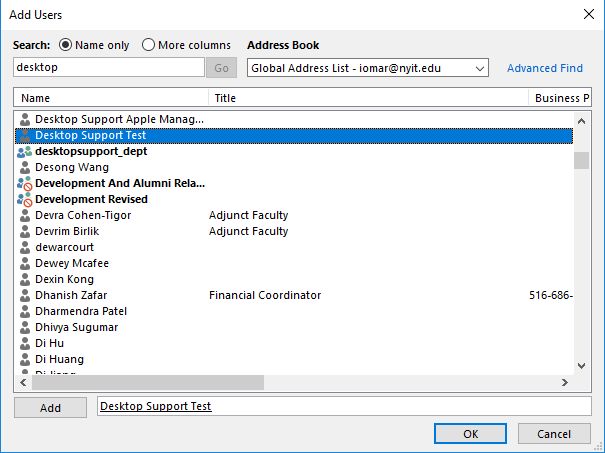
- Type the name of the person whom you want to designate as your delegate or search for the name and select it from the search results.
- Click Add > OK.
- If a delegate needs permission to work only with meeting requests and responses, the default permission settings, such as Delegate receives copies of meeting-related messages sent to me, are sufficient. You can leave the Inbox permission setting at None. Meeting requests and responses will go directly to the delegate's Inbox.
- To send a message to notify the delegate of the changed permissions, select the checkbox Automatically send a message to delegate summarizing these permissions.
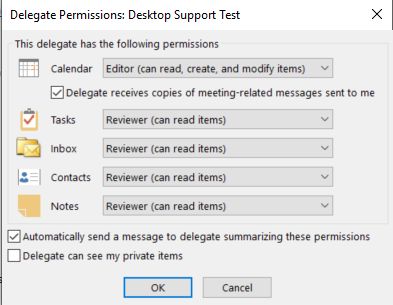
- If desired, select the “Delegate can see my private items” checkbox. Note: Do not rely on the Private feature to prevent other people from accessing the details of your appointments, contacts, or tasks. To ensure that other people cannot read the items that you mark as private, do not grant them Reviewer (can read items) permission to your Calendar, Contacts, or Tasks folder.
- Click OK.
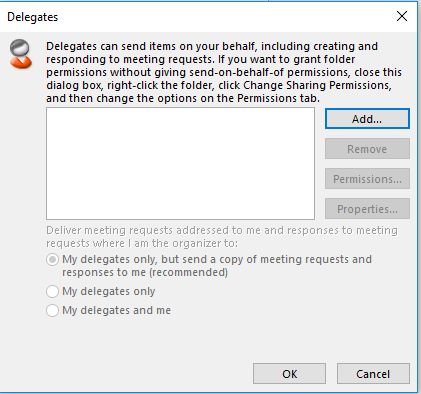
In the Delegate Permissions dialog box, accept the default permission settings or select custom access levels for mailbox folders.
To change permissions for a delegate:
Choose the File tab.
Select Account Settings > Delegate Access.
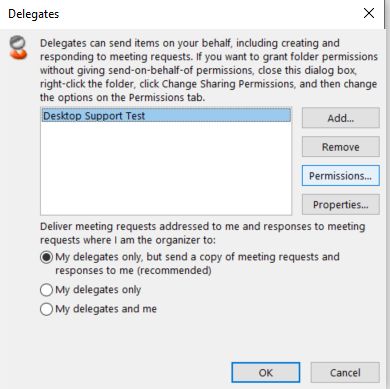
Click the name of the delegate for whom you want to change permissions; click Permissions.
Change the permissions for any Outlook folder that the delegate can access.
To send a message to notify the delegate of the changed permissions, select the checkbox Automatically send a message to delegate summarizing these permissions